Showing posts with label clothing. Show all posts

Tuesday, September 20, 2011

Baby Girl Nebraska Outfit.... Skirt and Appliqued Onesie Tutorial

Last weekend the Huskers were struggling to dominate Washington's Football team. Saturday morning I woke up and decided to make the baby something to show her team spirit... because if you live in Nebraska, your mood is determined by the success of the Nebraska Cornhusker Football team. This is no Joke! We have no other major sport's team to follow... there isn't a single pro team in the state... and the stadium in Lincoln on game days would be the third largest town in the state... It is a BIG deal here.... anyhow, the baby needed her first Husker outfit and so I began. I was gonna save this little number until we actually had somewhere to go, but since the first half looked awful I had to put it on her, and it worked. We (the Huskers, there is tremendous ownership to this team in this state) really picked it up a notch in the second half and looked much better!
There is no need for me to reinvent the wheel or anything... a few others had amazing tutorials on appliqueing and this simple skirt. So if you are needing some team spirit or feel like creating... click the tutorials at the bottom of the page.

For a great Applique Tutorial click HERE.
For the easiest DIY skirt tutorial click HERE.
Thanks for visiting Ladycrafter14... I would love for newbie's to follow me on Pinterest or
check out some of my other Tutorials... and one last thing...
GO HUSKERS!

Wednesday, July 13, 2011

Onesie Dress Tutorial

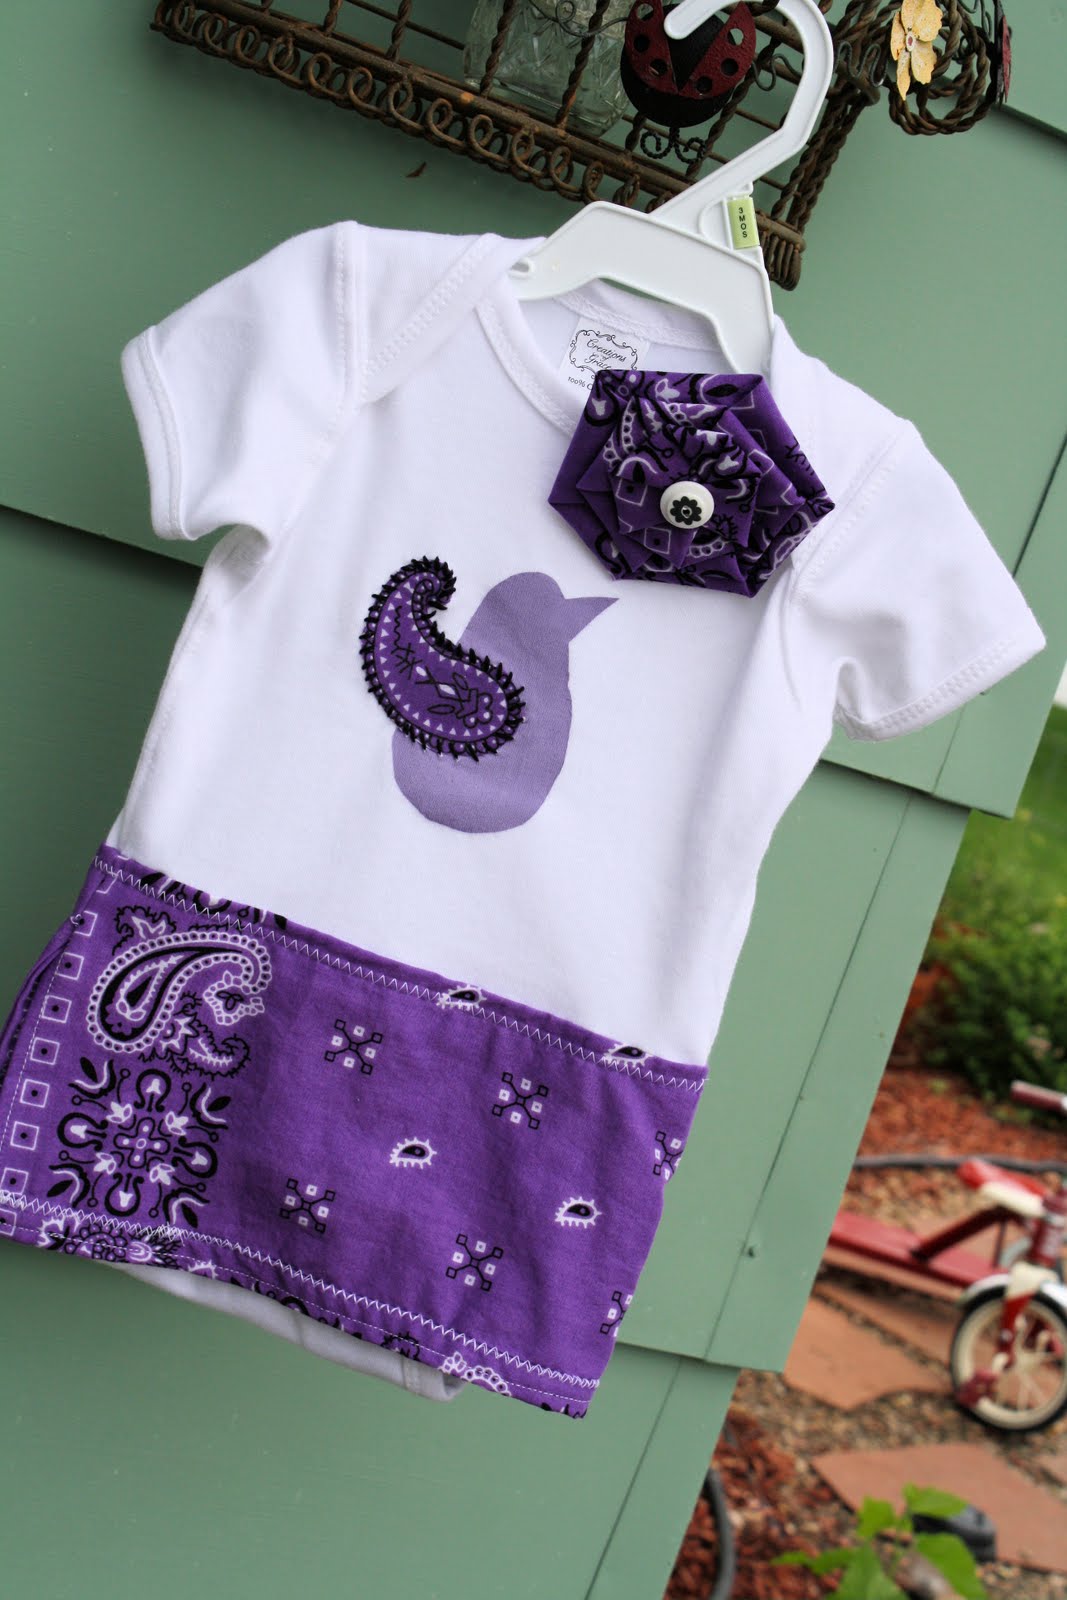
I had to share this "homemade" baby gift I made for my newest niece. I found lots of tutorials on onesie dresses but kinda just made it up as I went. The skirt is just a colorful handkerchief sewn to a plain white onesie. You can find a good tutorial HERE. Thanks to the super cool blog Running With Scissors. I thought this would make a perfect outfit for county fairs since it is that time of year.

The matching flower is a super cute accessory. I just added a little alligator clip to the back and now it can be added to any headband.
So cute and so easy... this will probably be the first of many I make:)
Linking up to...
Tatertots and Jello...
Sunday Showcase...
I Heart Naptime...
At Home with K...

Monday, June 20, 2011

Another Freezer Paper Stencil Tutorial... with Cuteness!

I love to attempt original photos of my children. When I became pregnant a 4th time and realized I was going to have 4 children, six and under I was definitely overwhelmed but knew it would make the cutest card:) haha... that must make me completely insane! Most people stress about affording another child and things of that nature (I leave the worrying up to the hubs). I worry about things like making sure their are equal number of photos of each child hanging on the wall and making sure I take each one individually to Disney on Ice... you know important stuff like that:)

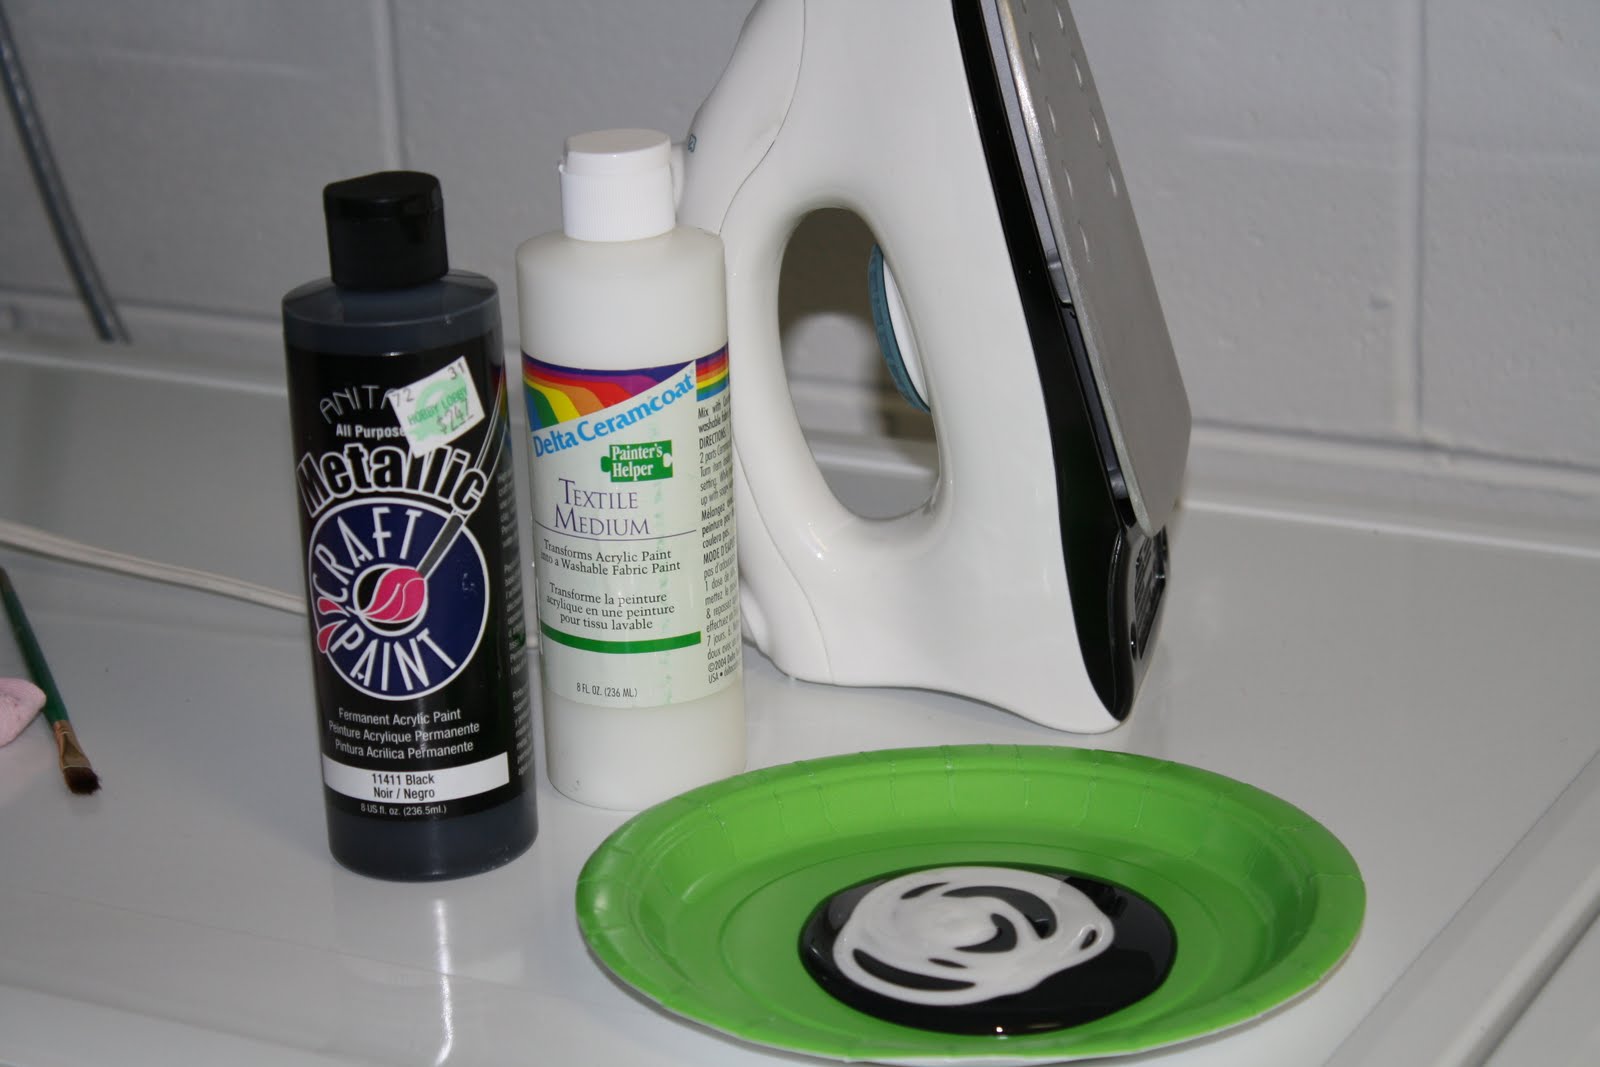
I have done another post on freezer paper stenciling, you can view HERE. This one is more or less the same thing:) I just can't get enough freezer paper stenciling... you need Freezer Paper, a pattern, knife, mat, textile medium, craft paint, and iron. With the pattern taped to the mat, cover with a piece of freezer paper, shiny side down and tape the freezer paper down as well.

Using the knife, carefully cut around your pattern, creating a stencil out of the freezer paper.

You will need to heat the iron without steam. WITHOUT is important. Mix your paint and textile medium. (The textile medium is sold at craft stores and allows you to wash your garment.) The recipe is two parts paint, one part textile medium.

You will want to take a blank piece of freezer paper and placing it shiny side up, gently iron it to the inside of the shirt so your paint doesn't bleed through. Once you have that in place, lay your stencil down where you wish to place it and then carefully iron the freezer paper stencil onto your garment, shiny side down... this creates a temporary bond.
Take a paint brush and paint on your paint in one thick even coat. Allow this to sit 1 minute... make sure the entire area is covered.
Very carefully pull off the stencil. Allow the paint to dry overnight or at least 6 hours.
Just for fun I wanted to trace mine in glitter.
The bottle said it would hold up in the washer but not the case. However it still made for cute pictures.
So cute... so easy! BTW... the plain white tees came from Hobby Lobby.