Oh my, oh my... first let me begin by saying... I had every intention of going to Pier 1 and purchasing a set of butterfly pillows. Plans changed. I get to Pier 1 once maybe twice a year... not because I have great self-control but because the nearest Pier 1 is 3+ hours away and did you know you can't shop online... nope only browse...boo! On that tangent I pretty much live 3 hours from any type of home decor store, Hobby Lobby, ect. with the exception of a Walmart that is 61 miles away:) I'm not whining because I love living in the wide open windy prairie, however I'm thinking of starting a new blog called "Handicap Crafting" because I can't just jump in the car and run to Micheals or Sam's or anywhere even close... okay enough about that. On my once every year trip to the big city of Omaha I headed to Pier 1 for the adorable butterfly pillows and they were OUT! What... I was horribly disappointed and so to console myself I treated myself to a 5,000 calorie supper and started figuring out how to make my own. So here you have it... my knock-off simple version of those Pier 1 pillows that can be made to match any decor colors. Below you see a separate inspiration from the Pottery Barn... love it!

And here below are the lovely pillows that were OUT! Me to the sales lady, "uhm... no I can't stop back in Thursday when you get your shipment."
 Drum roll please
... tah dah! A little smaller and a lot less detail, but I DID IT MYSELF!
 Lets Start with supplies: -old pillows or pillow forms -plain fabric of some kind -sewing machine +needle and thread -freezer paper -knife and cutting mat -iron -craft paint -textile medium -butterfly, bird, branch, or animal copy of your choice (website link at bottom of this post)
I started with a really old curtain... had kind of a linen texture and my cheapo-used-up throw pillows that probably could have been burned, but they didn't stink:)  Since my curtain was a little yellow I tried to give it a more vintage/old look and tea-stained it first. (to do this: take 6-8 tea bags with 10 gallons of water or so depending on the size of your fabric, fill a bucket with really hot water and make a tea bath... remove the bags and soak the fabric over night... then wash on cold and dry the fabric)

Next you need to measure your pillows. Mine were 16 inches so I cut 16.5 inch squares. I cut 8 squares and doubled up my layers because I didn't want those ugly stripes coming through.

Stacking all four layers for each pillow sew a 1/4 inch seam in 3 sides of the square. Then set aside and get ready to create your pattern/stencil.

For this step you will need Freezer Paper (not wax paper), tape, a knife, and mat.

The link for the butterfly pattern above is at the bottom of this tutorial. First tape the pattern to the mat and then tape down the freezer paper with the shiny side down.

Next, very slowly and carefully begin cutting on your pattern. I only used the general shape of the butterfly and found it was easier to just free-hand the inside... okay, this takes a bit so put on some country music, make some hot tea and enjoy the mindless activity:)

For the other wing, un-tape your pattern ( not the freezer paper stencil, set that aside) and flip it over. Tape it down and then place a second sheet of freezer paper on top with the shiny side down... oh and make a second cup of tea.

Your almost to the fun part...

So you should have two stencils that look like so...

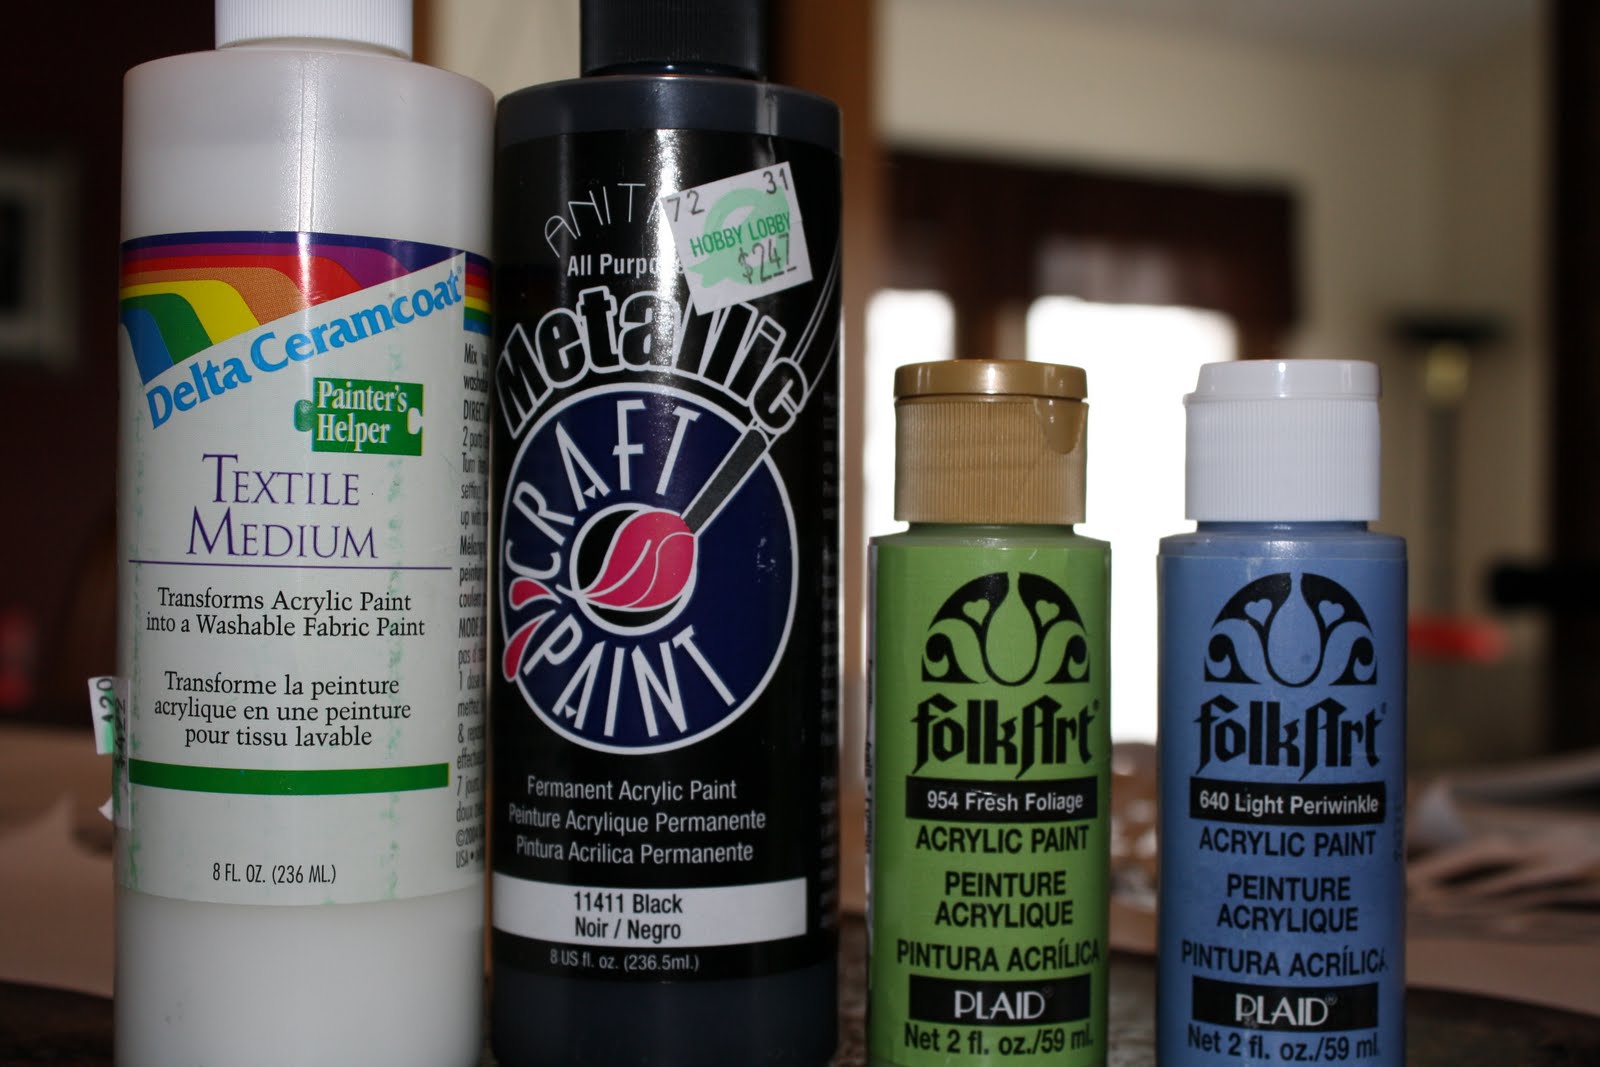
For the next step you will need paint of your choice and textile medium. The textile medium will allow you to wash or accidentally wet the painted area without damaging your design. The textile medium isn't a must for this project because you probably won't be washing your pillows however if you use this technique for a t-shirt or something you can wash it and the paint stays in place... great stuff...sold at Hobby Lobby.

Quickly take a hot iron(no steam) to your pillow case and smooth out any wrinkles.

Next prepare your paint... I thought this blue was a little too pastel so I added a dab of black.

Add the textile medium to the mixture... 1 part textile medium, 2 parts paint.

Now very carefully choose the position of your stencil. Don't align the butterfly right on the seam because it will fluff a little when you fill it. After you pick the position. Iron over the stencil with NO steam shiny side down. The wax melts to the fabric and creates a temporary bond.

Your freezer paper should be bonded to the pillow case like this.

Now go crazy with the paint and paint brush. Put on a single even layer.

Wait only a few seconds or minutes and then gently peal the stencil away.

Obviously you have to repeat with the other side and other color:)

Be sure to match the position on the pillow with the first one so the wings align when sitting next to each other... the paint needs 5-6 hours to dry:)

Now stuff those yucky recycled pillows in their new home.

Fold all four edges in and pin.

Pour some more tea and begin sewing the seam by hand with your needle and thread.

Isn't that beautiful!

Changing my decor from fall burgandy to lovely blue and ivory spring!

Even though Pier 1 was out of pillows, they did have these beauties on sale which are just peferct for my new color scheme.

Tah Dah!... gosh that was a really long post! Hope you enjoyed and if you have any questions please comment and I'll reply!
This post joined the link party at...  and
and